How To Recover Emptied Trash on Mac? A Comprehensive Guide!
In this article, you will learn how to recover emptied trash on a Mac with 5 quick and reliable methods.
When you delete some items on Mac temporarily, they go straight to trash. But, when you empty trash, the data is deleted permanently. This can be a frustrating moment for you, as it can be challenging to restore emptied trash on Mac, but it is not impossible.
Difference methods are available to recover files from emptied trash on Mac. You can try built-in options like the Time Machine backup and command-line recovery. However, using a third-party, dedicated file recovery tool like Wondershare Recoverit will always be worth it.
This article presents five quick and dependable methods to restore data from your emptied Mac trash within minutes.
Use Wondershare Recoverit To Recover Emptied Trash on Mac – The Best Method
Are you wondering how to recover emptied trash on Mac? Searching for an efficient tool you can trust? If so, look no further than Wondershare Recoverit. Along with an empty Mac trash, it helps you restore the lost data from any drive on your system and external drives.
With over 21 years of experience in the data recovery market, Recoverit has helped more than 5,000,000 individual users and companies to restore different types of deleted data from different devices. It is trusted by big names like Techradar, Techjury, and Softpedia.
It offers 100% secure processing with full encryption. 24/7 technical support and highly cooperative support staff have convinced millions of people worldwide to use Recoverit for their data recovery Mac needs. This tool is awarded with 35 patents for its impressive data recovery solutions.
Key Features
Afterward, highlight its key features using in-depth bullets such as:
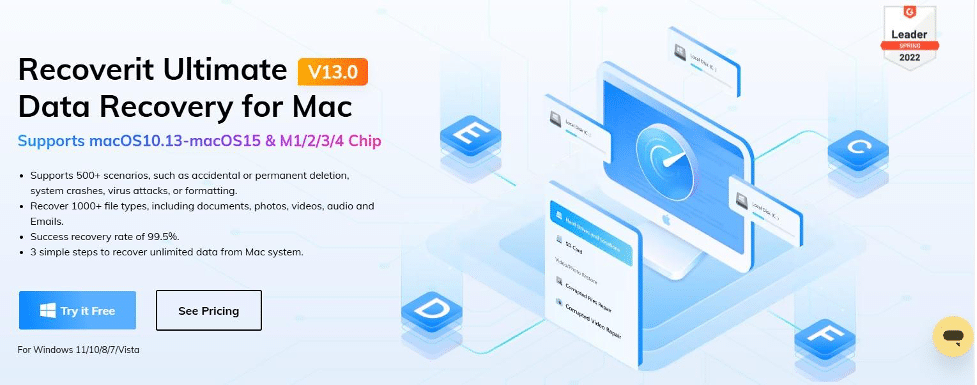
- It offers support for over 500 data loss scenarios, including but not limited to accidental or permanent deletion, system crashes, formatting, virus attacks, etc.
- Recoverit can recover data from all internal and external drives, such as SSD, HDD, USB, external hard drive, and more.
- You can easily recover 1000+ file types, from docs and photos to videos, audio, emails, and more.
- It enables you to preview the scanned files from the trash before recovering.
- One of the most prominent features is its highest recovery success rate in the market: 99.5%.
How To Restore Emptied Trash on Mac with Recoverit?
Below is a simple 3-step guide to restoring your emptied trash on Mac.
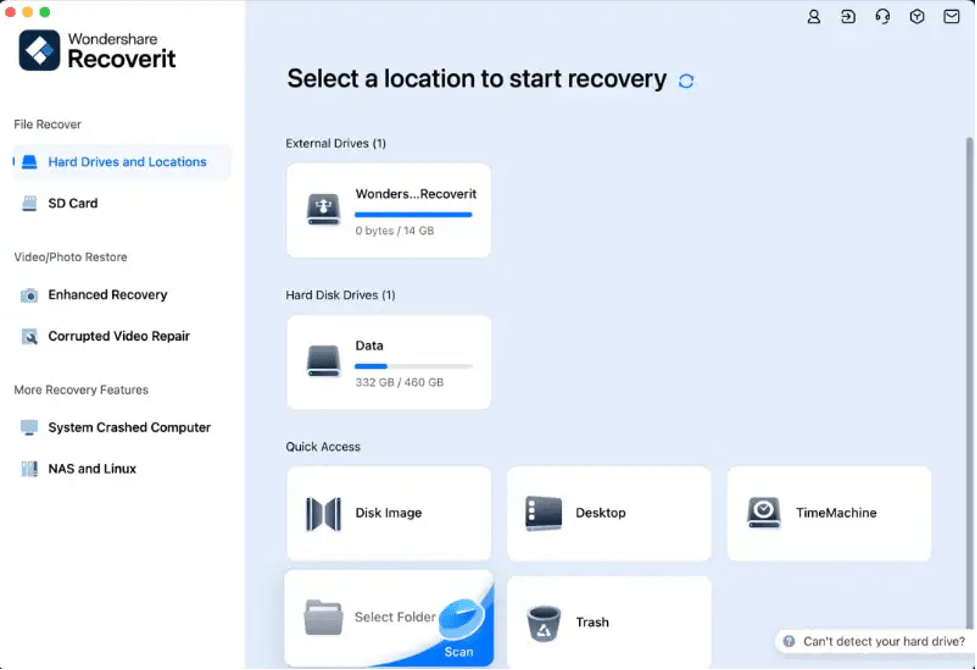
Step 1: Download, install, and launch Recoverit. Then, log in or register with your credentials. Once done, choose Trash.
Step 2: Recoverit will scan the location automatically to search for the lost files and other data. You can see the scanning progress at the bottom. You can stop this process at any time once you find the files you are looking for.

Step 3: Click the Preview button to preview the scanned files. If they are the ones you need, click the Recover button to get them back on your Mac.

4 Free Methods To Recover Emptied Trash on Mac
This section presents four alternative ways to recover emptied trash on Mac instantly. Let’s look at them one by one.
Method 1: Using Time Machine Backup
It is a built-in Mac tool that helps you back up data regularly. You can restore these backup files if you have permanently deleted data from the trash. Here’s how you can recover files with Time Machine.
Step 1: Open Time Machine by tapping on the clock icon from the top bar.
Step 2: Search for the files you want to restore and choose them.
Step 3: Now, click the Restore button to recover files from the data backup.
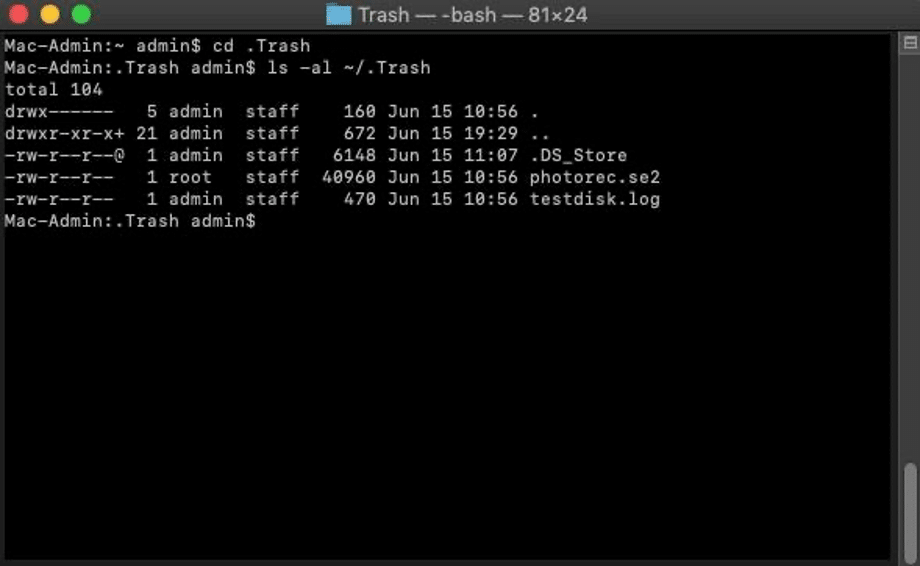
Method 2: Command-Line Recovery (Using Terminal)
Though Terminal is not as effective as dedicated utilities, it helps you manage your Mac using different commands. It is similar to but a more advanced version of the command prompt on Windows. Let’s learn how to recover emptied trash on a Mac with Terminal.
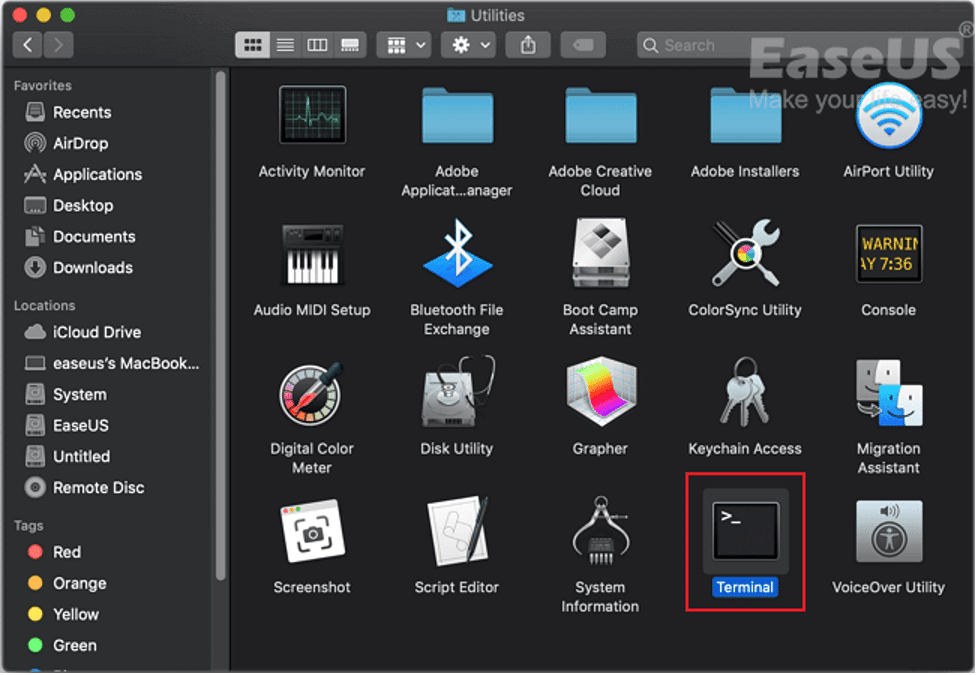
Step 1: Go to Finder>Applications>Utilities and find Terminal.
Step 2: Check the Trash folder by typing the “cd~/.Trash” command.
Step 3: Type “Is” to list folders and files. Once you find the desired files, you can choose a different location to restore them instead of their original location.
Note: When you type the command, don’t forget to ensure it is correct. The incorrect command may result in more issues. Always choose a different location to restore data to avoid overwriting problems. If you are an advanced user, it is recommended to use a dedicated tool for data recovery.
Method 3: Checking Cloud Storage (e.g., iCloud)
This is another way to protect your valuable data. It restores permanently deleted files from trash on Mac. Below are the steps required to restore trash using Apple iCloud. Log in to your iCloud account and follow the steps below.
Step 1: Tap on the icon and open iCloud settings.
Step 2: Enter Data Recovery and hit the Restore Files option.
Step 3: Search for the files you want to get back. Click the checkboxes to choose files. If you want to recover all files, tap on the Select All option.
Step 4: Choose Restore Files to get your deleted data back.
Method 4: Using Other Mac-Compatible Freeware
This section lists three more tools to perform Mac trash recovery for free.
1. PhotoRec
It is an open-source data recovery tool you can use to restore emptied trash. The command-line interface of this software is less friendly, and you should have basic disk configuration knowledge to use it. This is why a general user doesn’t consider it a viable option for easy and instant recovery.
2. R-Studio
It is also a free and open-source program designed to perform different types of data recovery, including restoring files from trash on Mac. The overloaded interface and costly services don’t allow this tool to gain significant popularity.
3. Data Rescue
With this tool, you can restore permanently deleted files from trash on Mac. It performs quick and deep scans to search for lost files. In addition, it enables you to preview lost files before restoring them. On the other hand, it supports limited file systems and doesn’t check bad sectors.
The four methods listed above can help you recover files from emptied trash on Mac. However, using Wondershare Recoverit provides the most reliable and quick Mac data recovery solution. It offers the highest data recovery rate, i.e., 99.5%.
Comparison of Methods and Their Pros & Cons
Here is a quick comparison of all the data recovery methods we have discussed above.
| Recovery Tool | Pros | Cons |
| Recoverit | – the highest recovery rate – wide support for internal/external drives – secure processing | – It may be resource-intensive |
| Time Machine | – automated backups – spotlight search – restore to any Mac | – it requires you to reinstall macOS |
| Terminal | – it has deep access to the Mac systems – simple commands for recovery | – incorrect commands can create several issues – having prior knowledge is compulsory |
| iCloud Backup | – access data on any Mac device – supports instant data recovery | – Apple’s infrastructure gives you less control over the data – depends on the internet all the time |
| Other Freeware Tools | – open-source programs – support quick data recovery | – overloaded interfaces – recovery can be insecure |
The reason why Recoverit is an ideal choice for professionals is its 100% secure processing, deep scanning, and the highest successful data recovery rate.
Conclusion
To restore emptied trash on Mac, you can use built-in options like Time Machine and Command-Line Terminal. You can also restore permanently deleted files from iCloud backup. If you are looking for the most reliable and highly secure Mac data recovery tool, Recoverit should be your top choice. It has been helping millions of global users recover lost data for more than 21 years.